
What you'll need
- A Power Apps or Power Automate license with AI Builder, or AI Builder credits in your environment.
- 10 to 15 PDF bills or receipts, saved on your Onedrive.
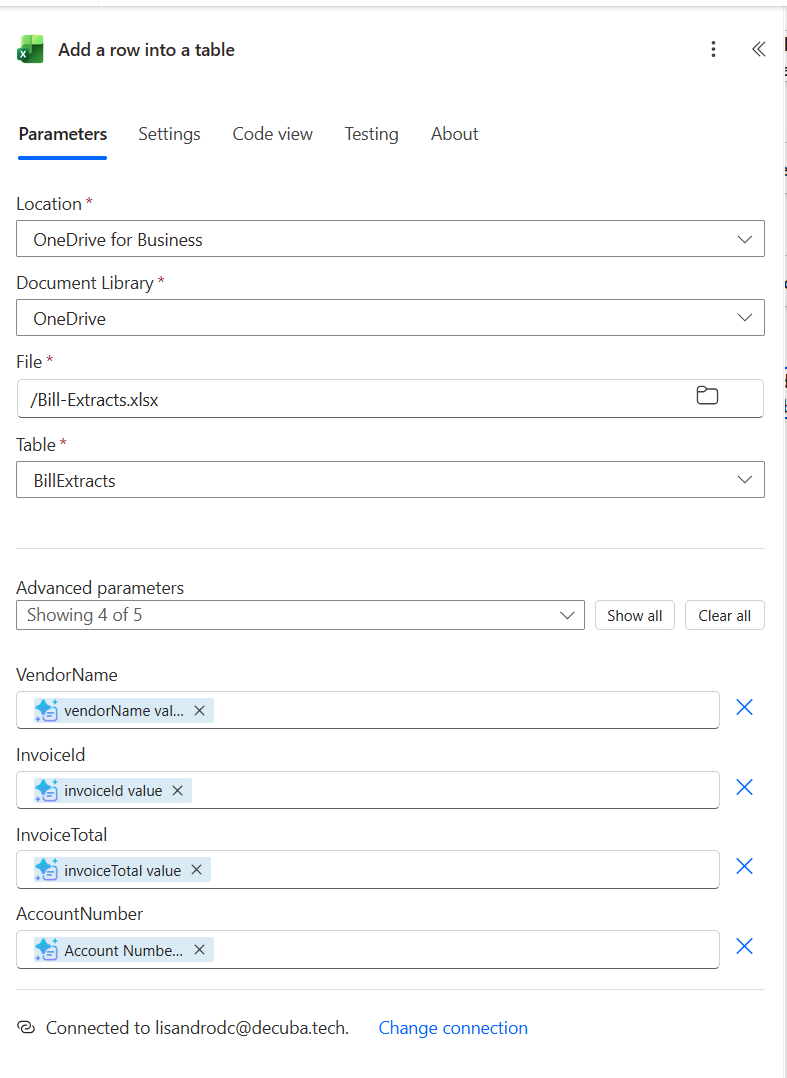
- An Excel workbook on OneDrive with a table for the extracted data to land in, columns named VendorName, InvoiceId, InvoiceTotal, AccountNumber.
Step 1: Start the model
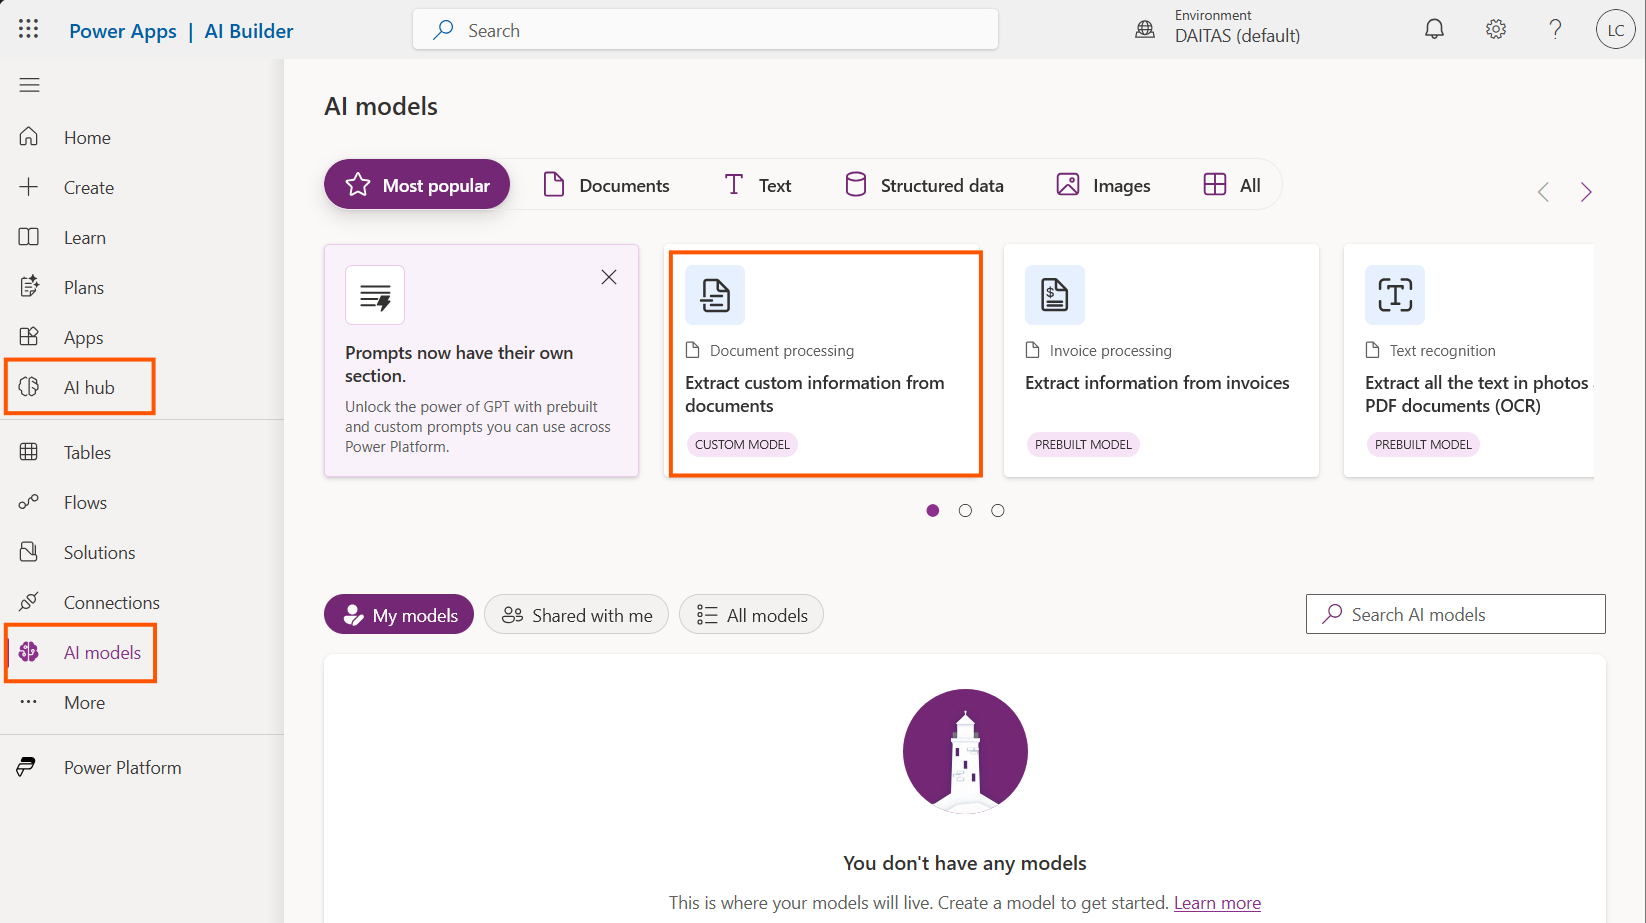
This wil open the Extract custom information from documents panel first.
Select create custom model in the bottom right to get started.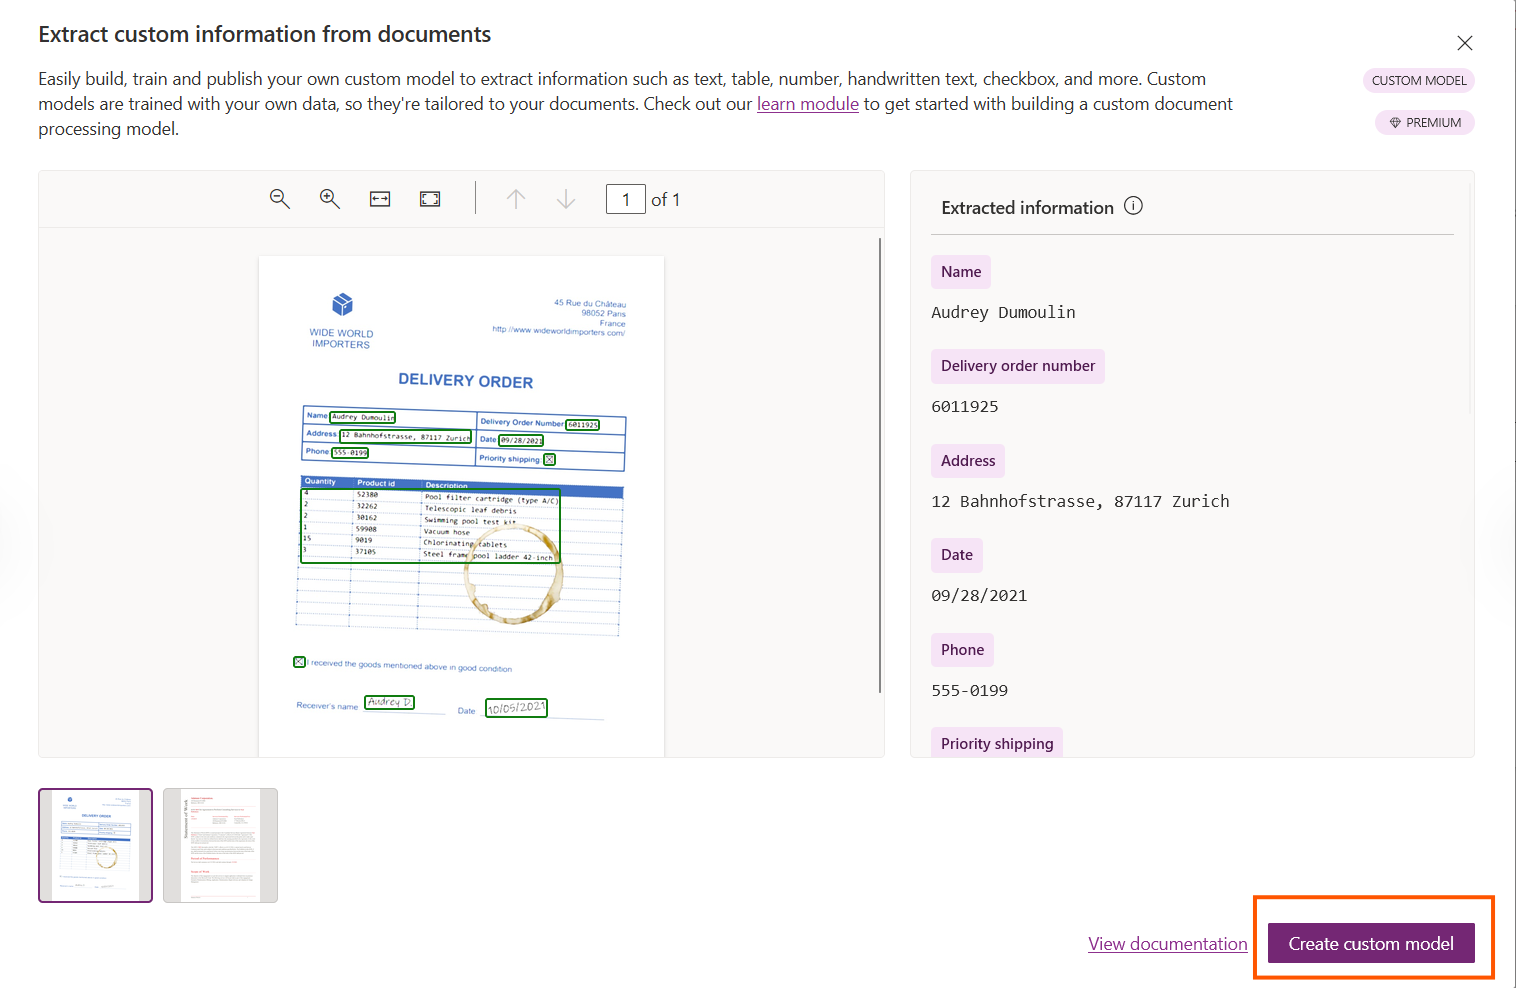
Step 2: Choose your document type
This is the first step of the wizard, running Choose document type, Choose information to extract, Add collections of documents, Tag documents, Model summary, five steps.
Choices: Fixed template documents, General documents, or Invoices. Bills and receipts from different senders fit Invoices best, Fixed template documents is for when every sample is the exact same form. General documents is the freeform documents with no consistent structure.
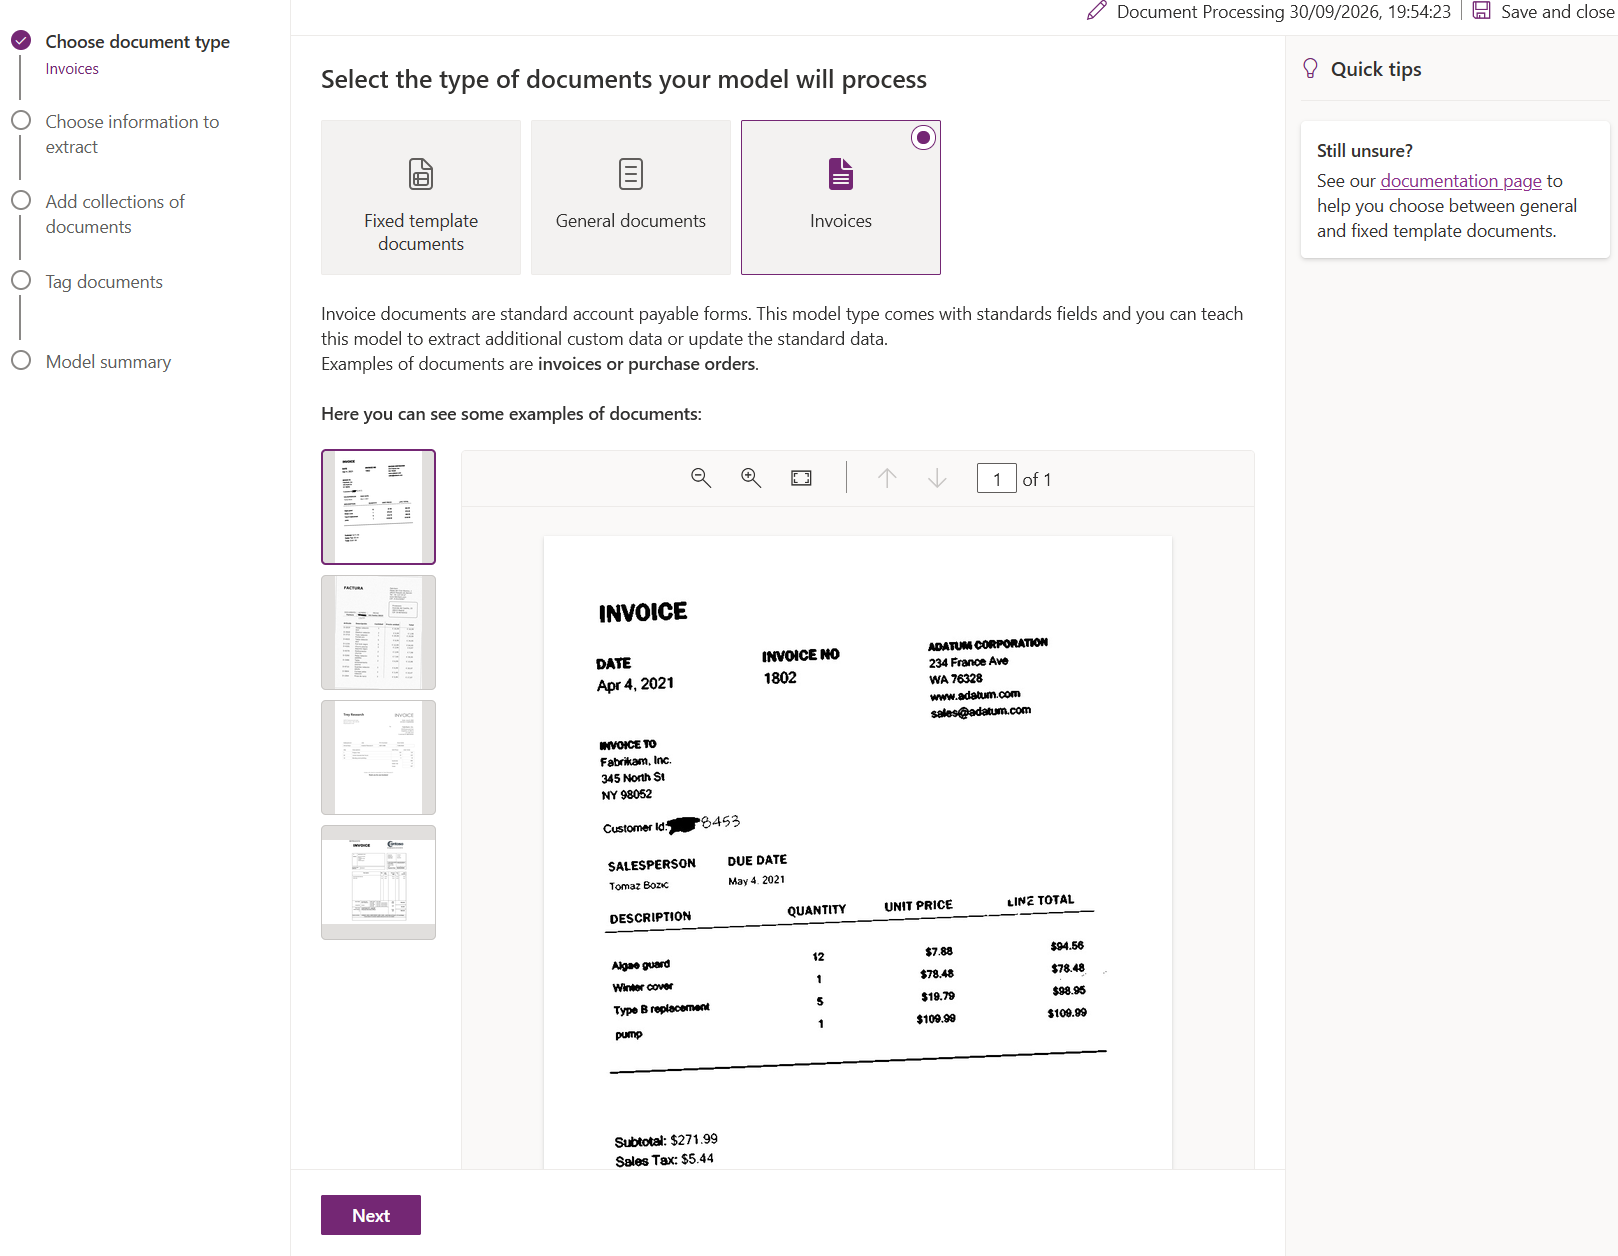
Name the model something you'll recognize, bill-extraction-demo in my case, then move to the next step.
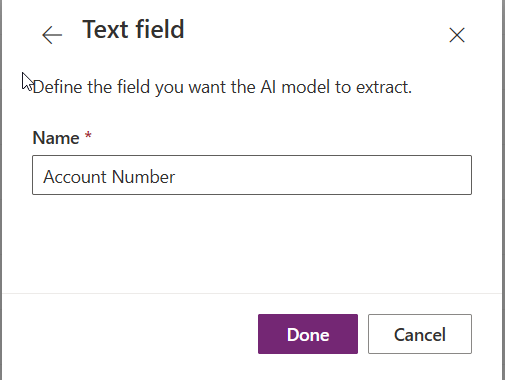
Step 3: Don't use the defaults, but add one real custom field.
For this example, the prebuilt invoices model would be sufficient, but adding a custom field makes it a custom model and that is what i want to show. So that is why we are going to add a custom text field for Account Number.
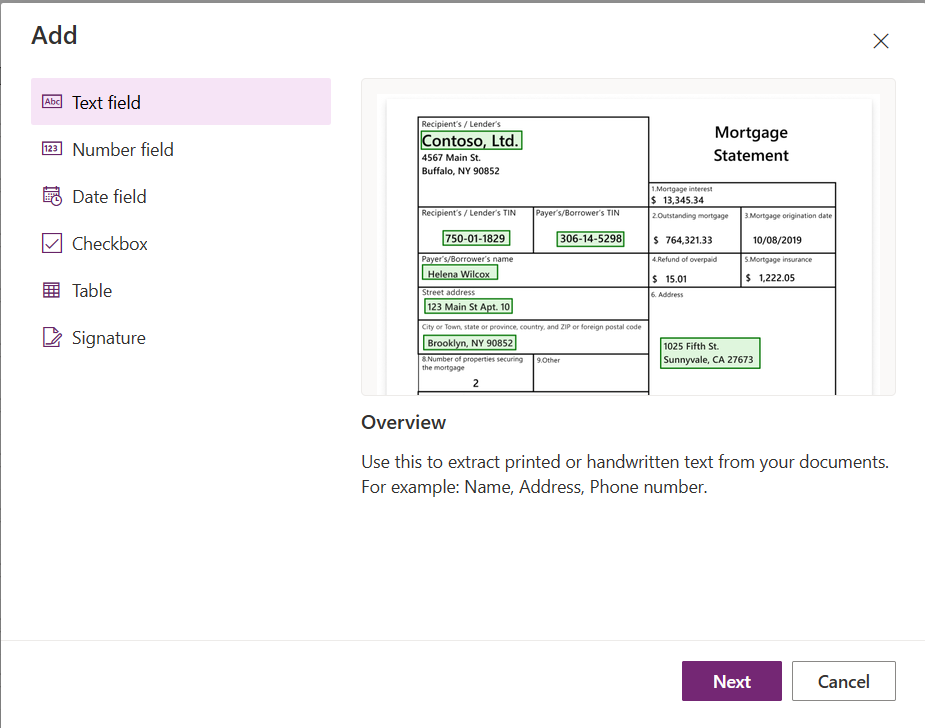
Step 4: Add your collection of documents
Add 10 to 15 bills and receipts. Select Next and in the Add collections of documents panel, select Collection 1, or select New Collection. I selected Collection 1, what opens the Collection 1 panel. Select Add Documents. 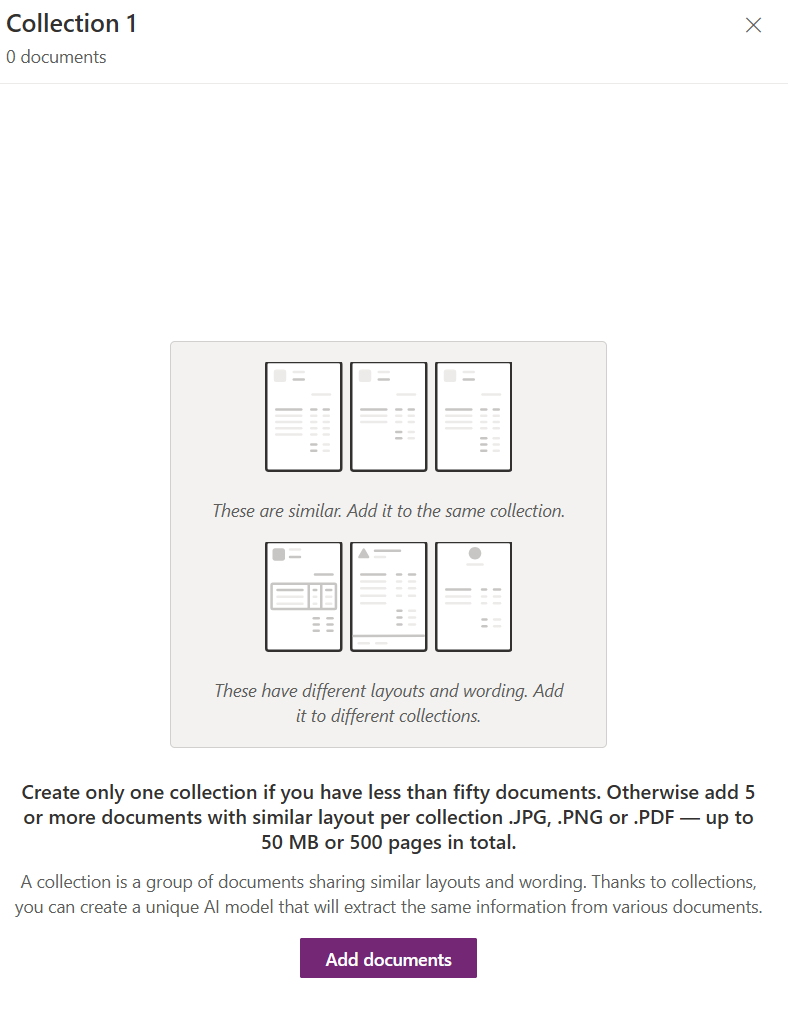
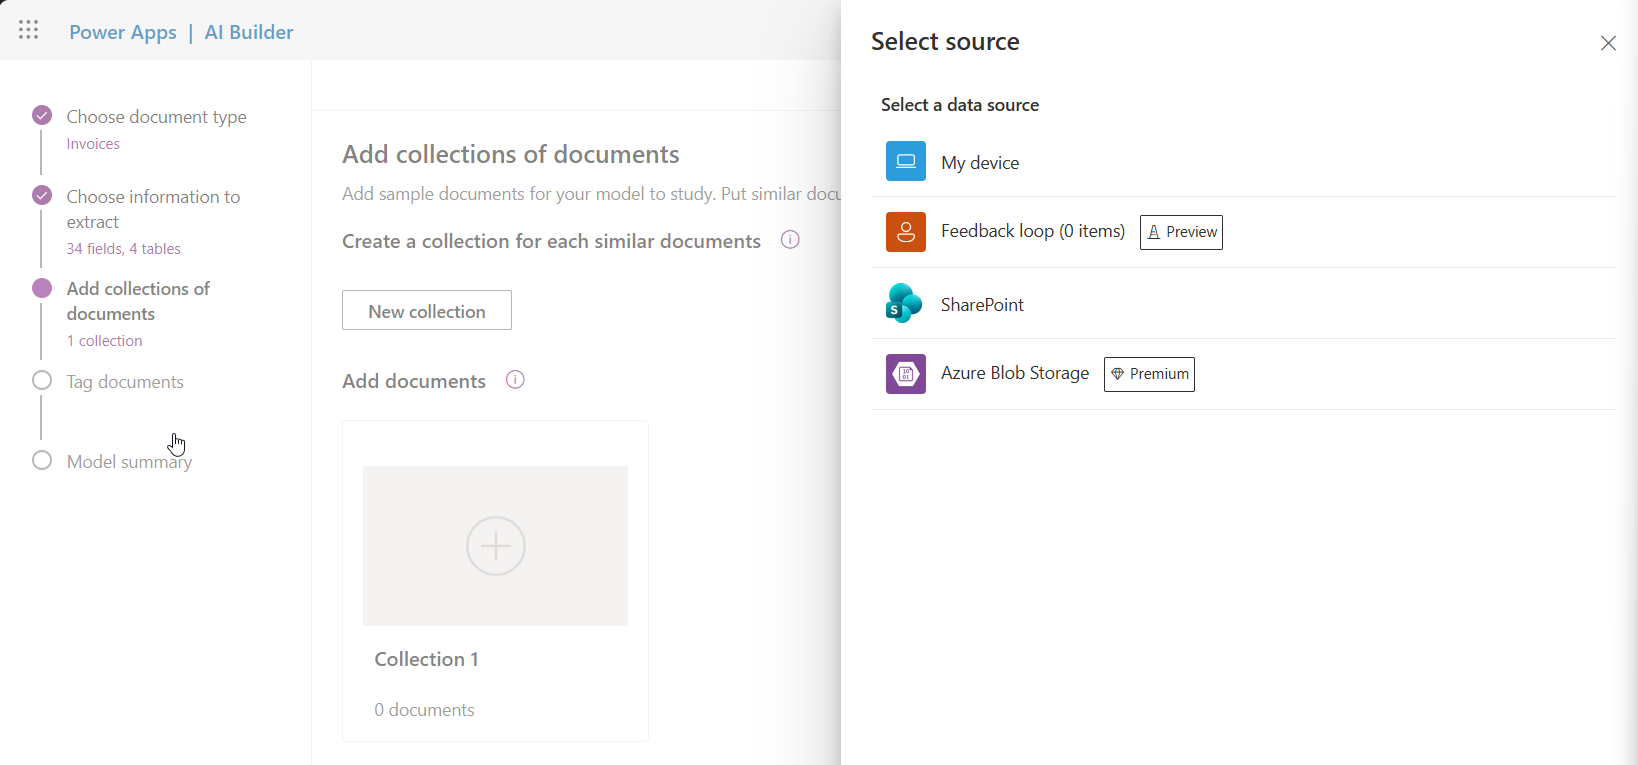
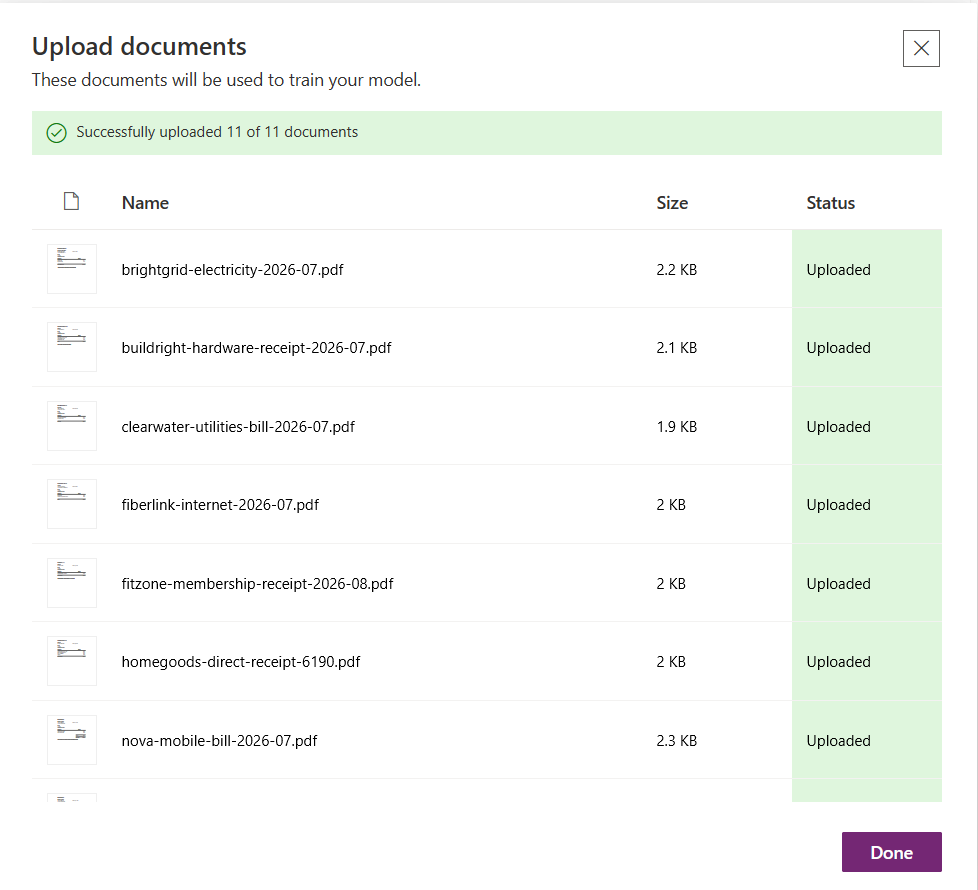
The Select source panel opens, in this case the source is My device. Select the files you are going to use, i had 11 documents generated so i can upload these. Select Upload.
Step 5: Tagging
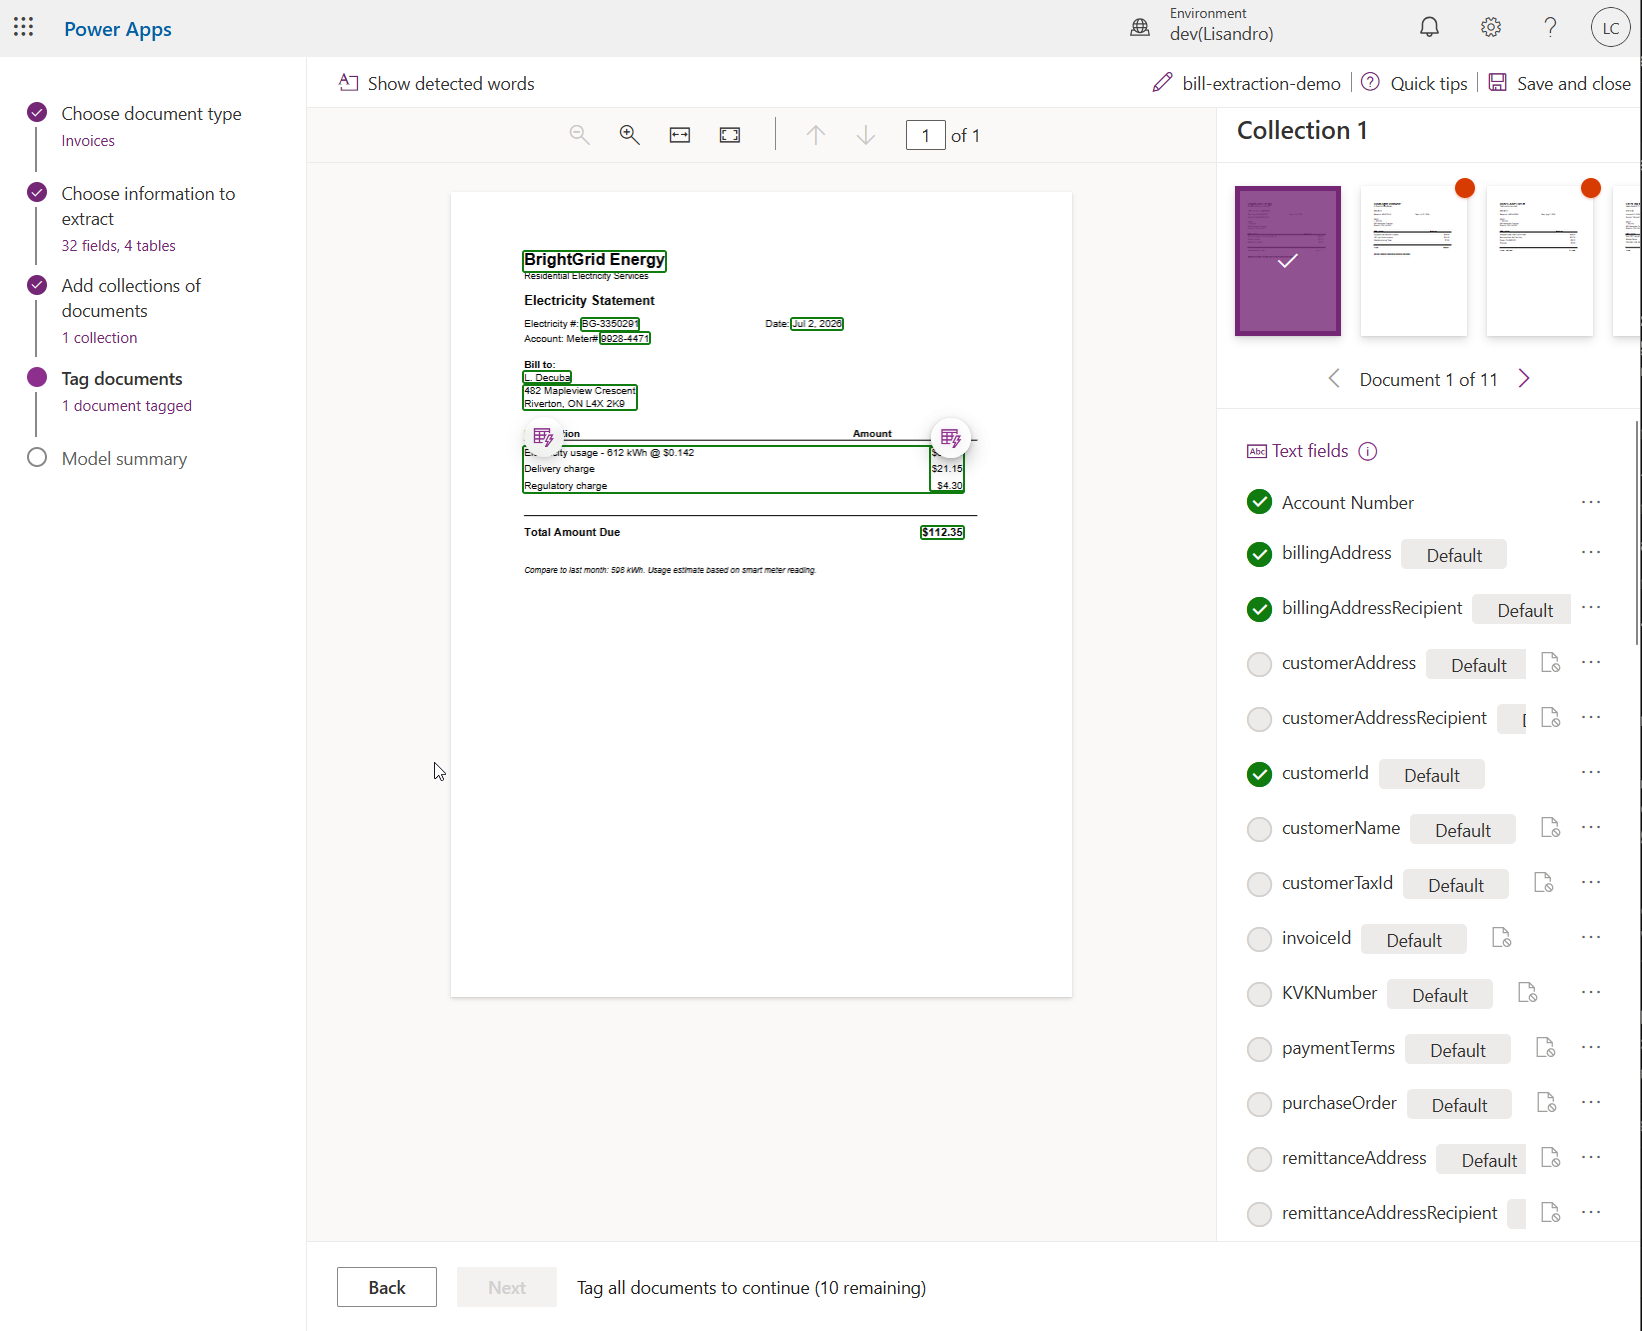
As we added a custom field for Account Number, we need to tag it in the documents that are uploaded to train the model. The default fields are tagged automatically. I generated documents with Account Number Values so that is one tag per document. Do this with all documents to proceed.
Step 6: Train your model
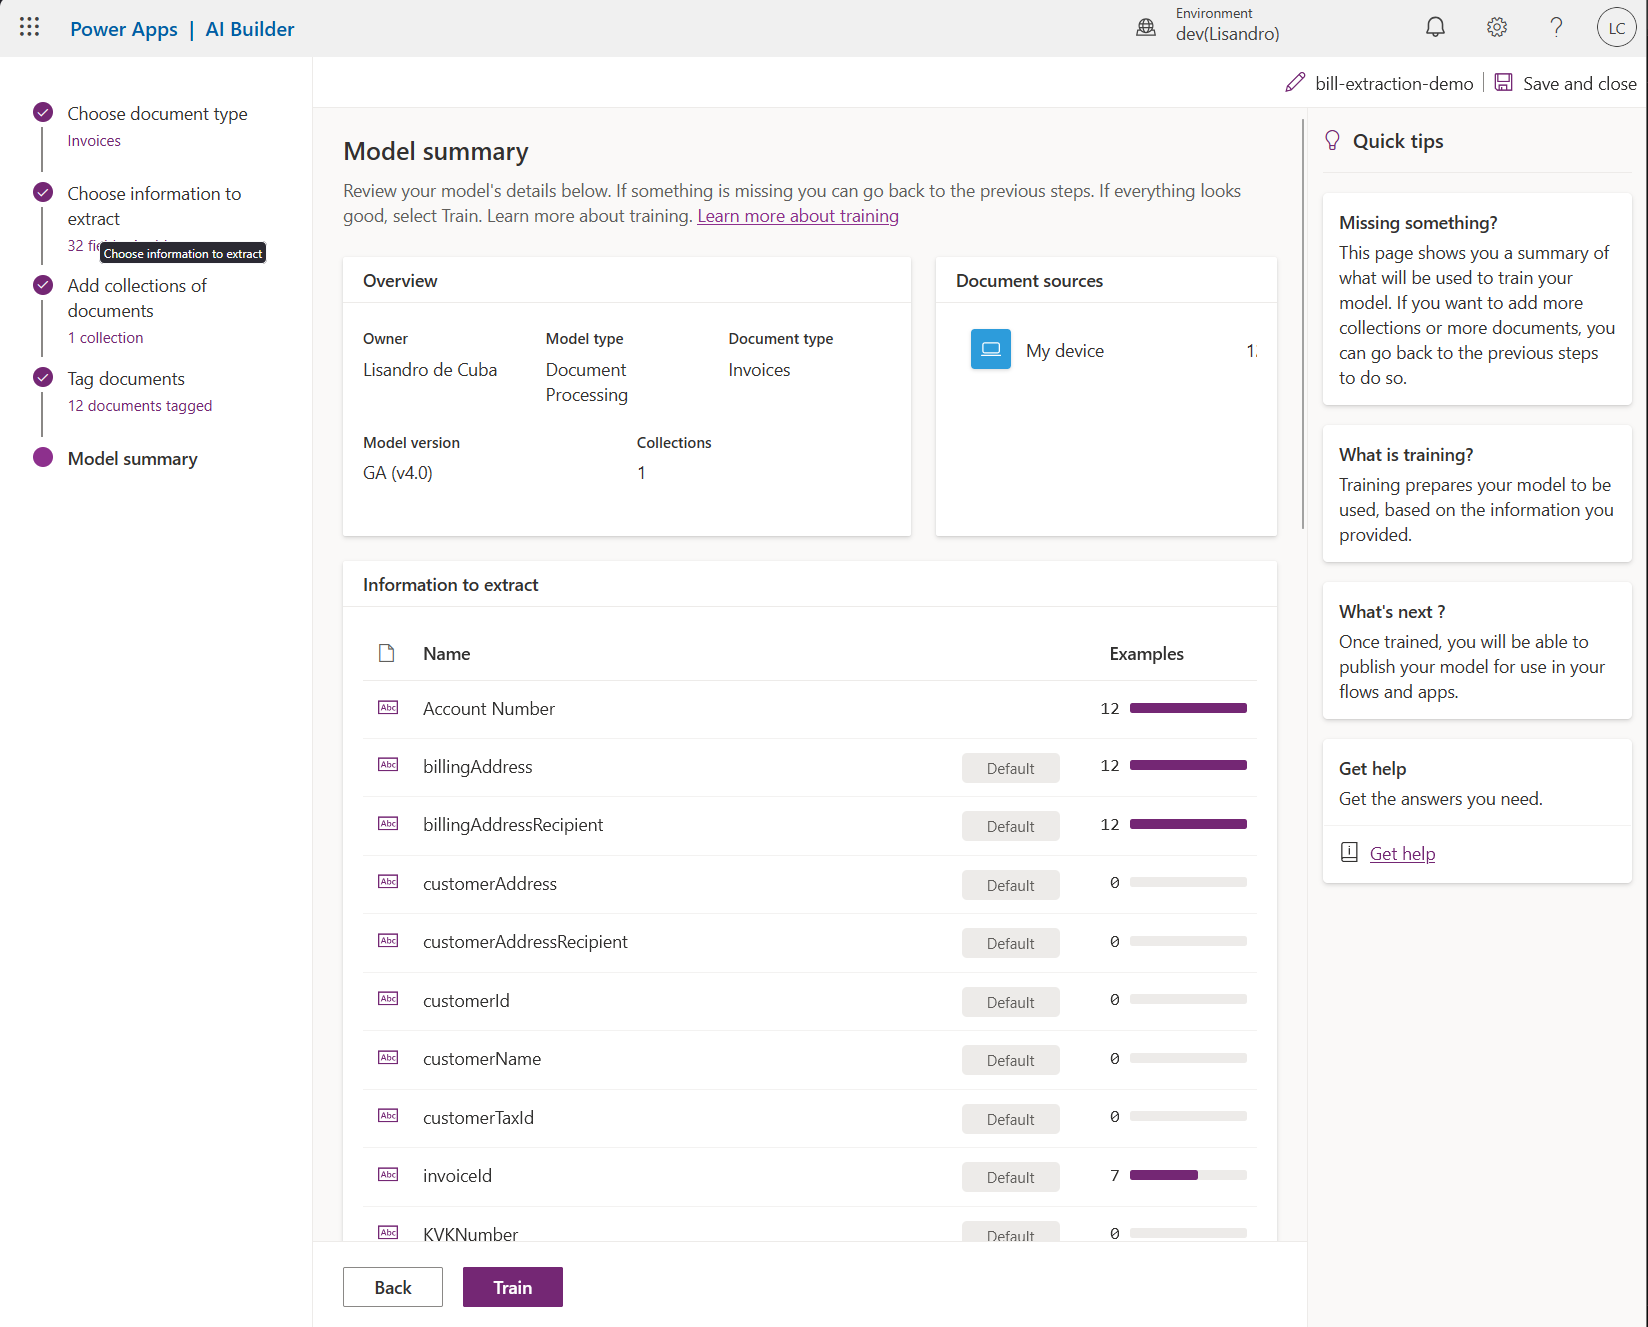
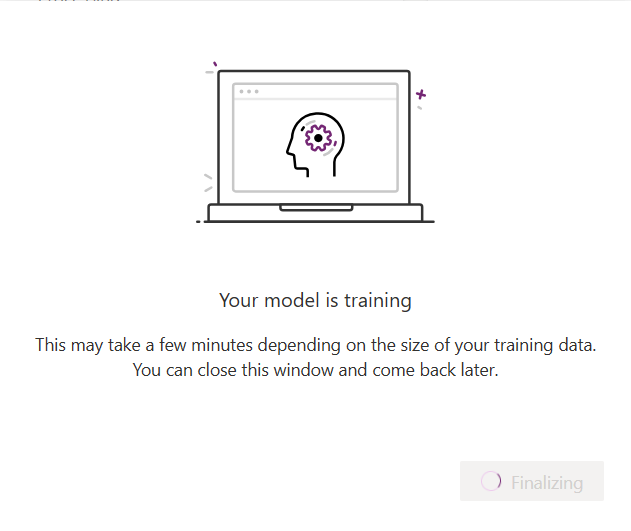
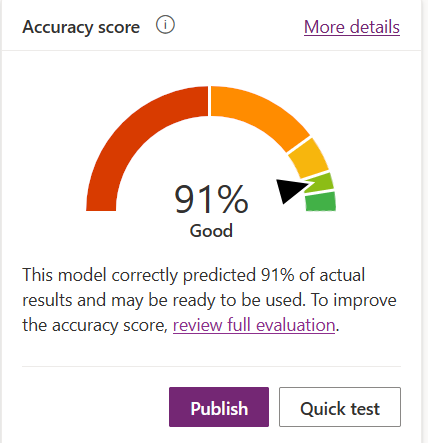
When done tagging all documents you can start training your model, the model will now learn how to recognize custom fields, in this case the Account Number field. Select Train to start training.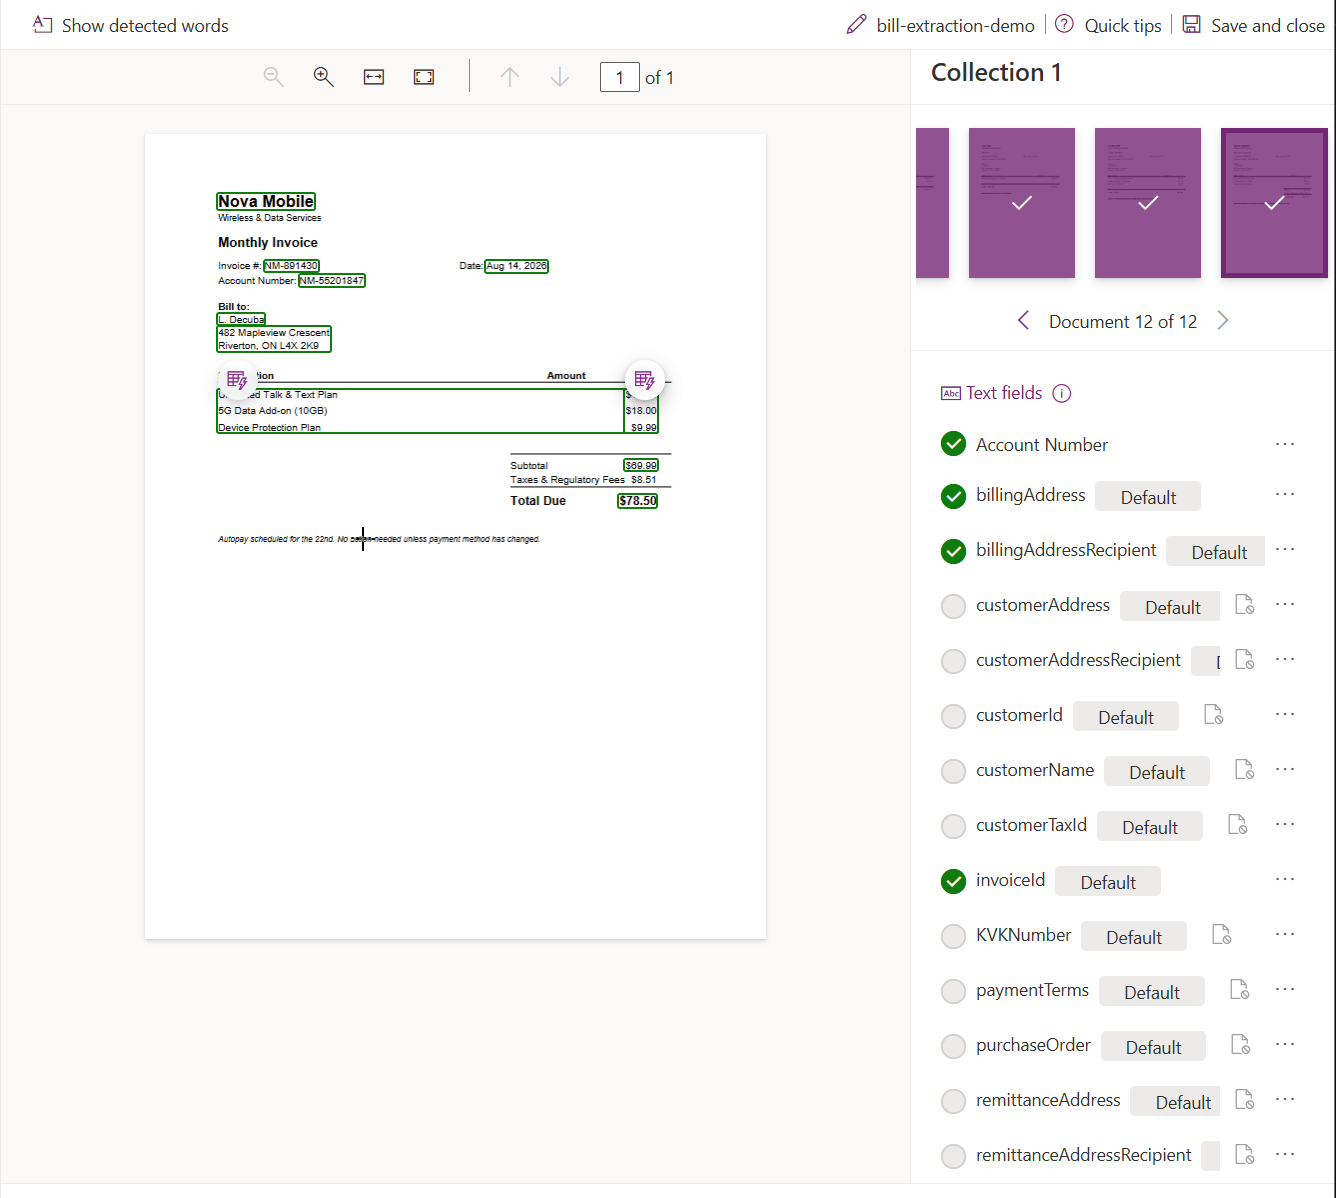
Step 7: Publish
Once the score is displayed, hit Publish. Now it's available to Power Automate and Power Apps.
Step 8: Build the automated cloud flow
We are working from OneDrive only, drop a file in, the flow get's triggered runs it through the model, writes the result to Excel, and moves the processed file away so it doesn't get processed twice.
8.1: Create the flow
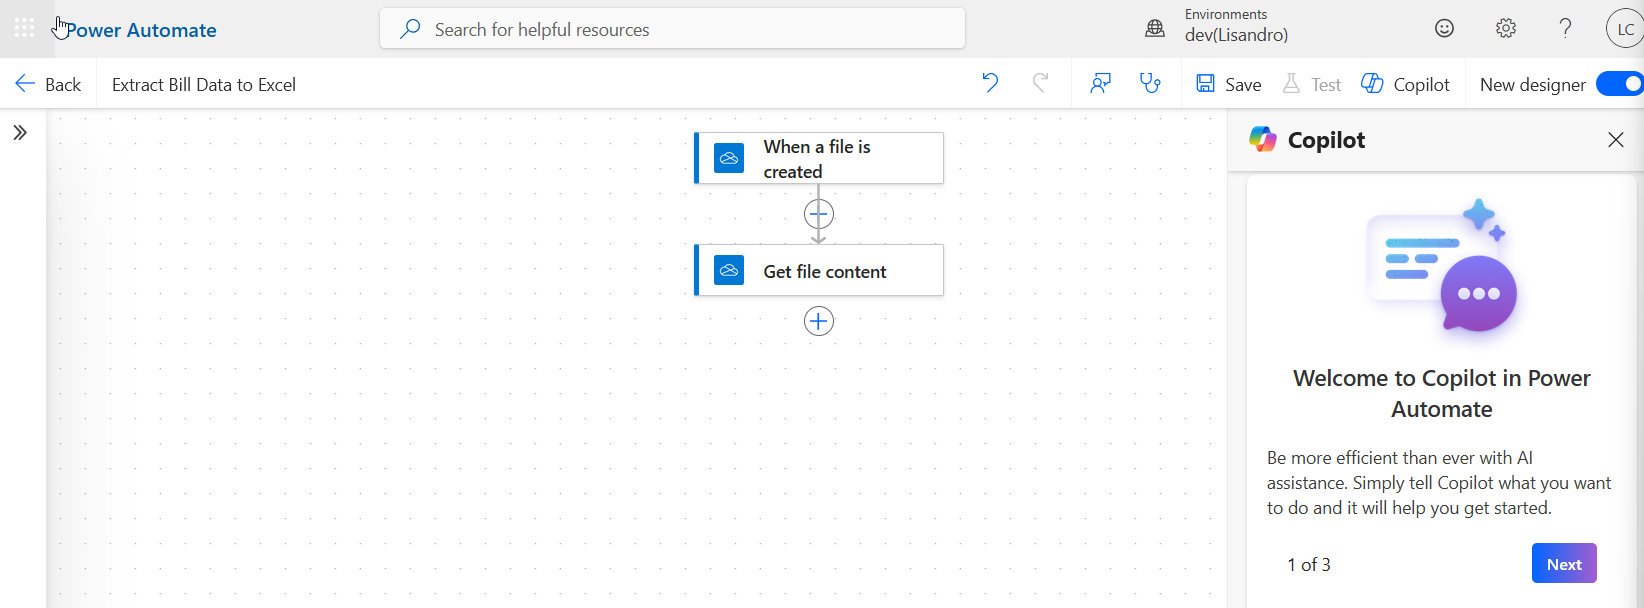
open make.powerautomate.com, left nav My flows, + New flow, Automated cloud flow. Name it something simple, Extract Bill Data to Excel is what I used. In the trigger search box, type OneDrive for Business and pick When a file is created. Select Create.
8.2: Point the trigger at your incoming folder
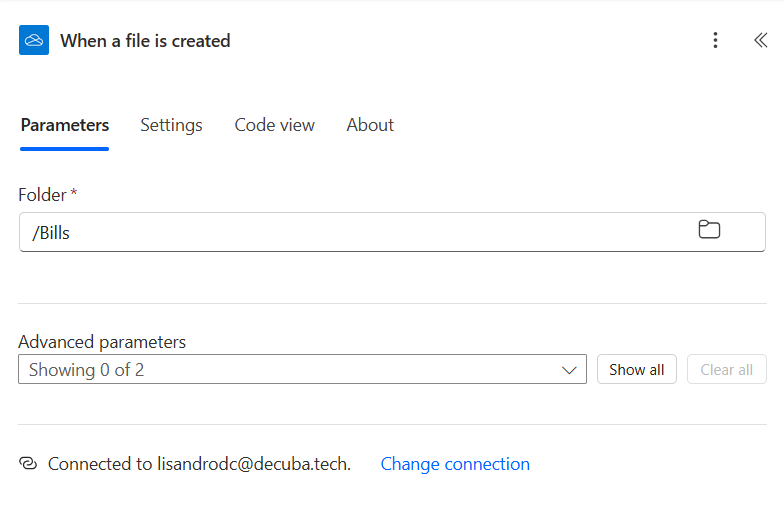
On the trigger card, sign in to OneDrive if you're not already, then use the folder picker to select Bills-Incoming (or what you named it).
8.3: Get the actual file content
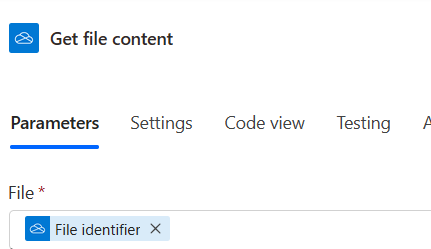
New step, search OneDrive for Business, select Get file content. In the File field, pick FileIdentifier from the trigger's dynamic content list
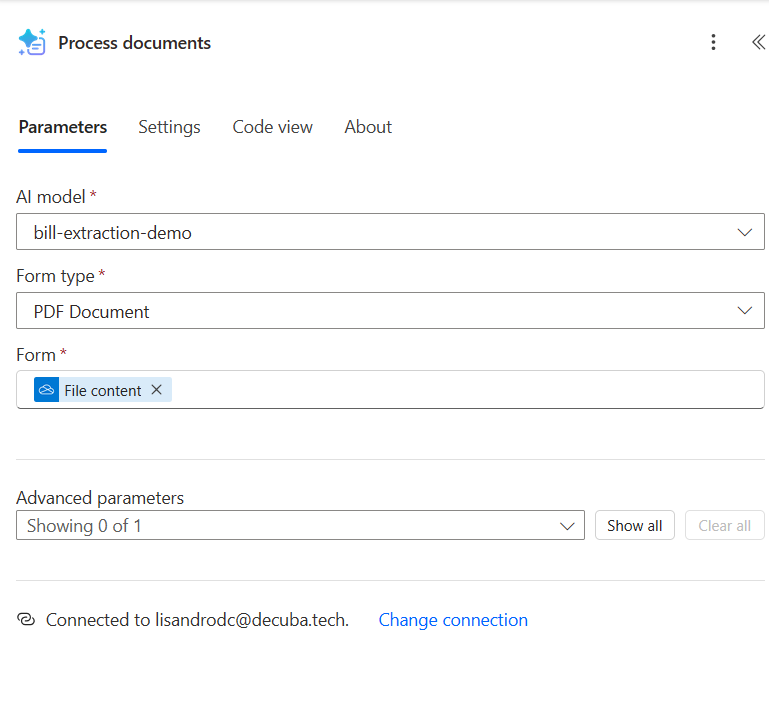
8.4: Add the Process documents action
+New step, search AI Builder, select Process documents. Pick your model from the dropdown, bill-extraction-demo or what you named it.
In the Form field, select File Content from Get file content's dynamic content, not anything off the trigger directly.
8.5: Add a row to your Excel table
+ New step, search Excel Online (Business), select Add a row into a table. Point it at your workbook and table. For each column, map the matching AI Builder output: search the dynamic content list for VendorName value, InvoiceId value, InvoiceTotal value, Account Number value, one per column.
8.6: Move the processed file out of the incoming folder
Last step, preventing accidentally processing the same bill three times.
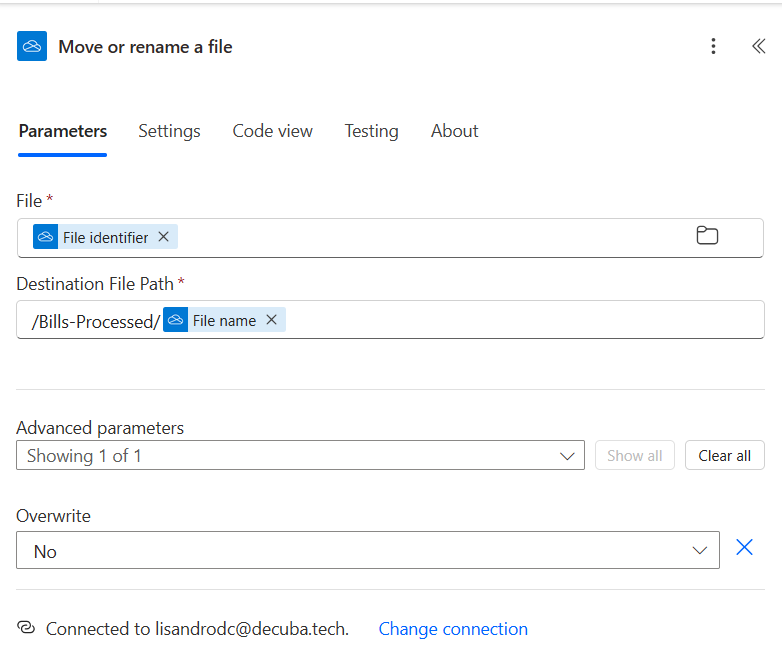
+ New step, search OneDrive for Business, select Move or rename a file.
- File: use the folder icon on the right to browse and pick a file, or skip the picker and insert the trigger's Id from dynamic content instead, same value either way
- Destination File Path: there's no folder picker here, it's a plain text field that wants the entire destination path, folder and filename together, not just a folder. Type the folder part yourself, /Bills-Processed/, then with your cursor still in the field, open dynamic content and insert the trigger's Name output right after the slash.
If you leave out that Name token and only type the folder path, the file arrives with no filename at all, nothing is supplying one
Step 9: Test your flow
Add a file in the Bills folder and see what happens. The Automated flow should trigger and process.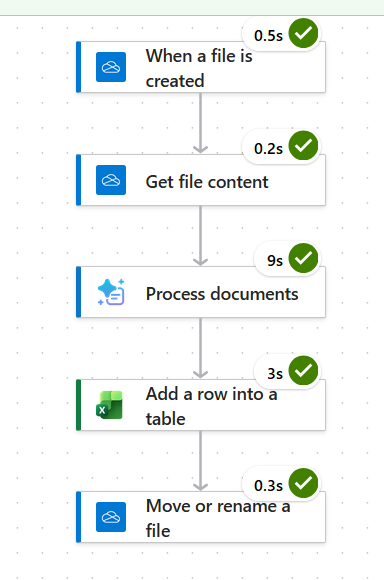
Check your Excel workbook.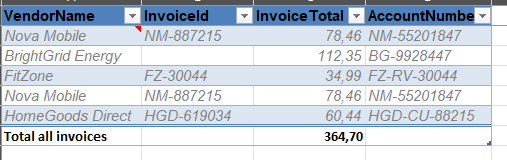
That's it. You now have a Document Processing Model in AI Builder for Invoice Extraction and a automated flow to use this model.